Creating a basic model-driven app
A continuation of two previous topics, in the shape of Virtual tables on top of SQL, and editing data in SQL via Excel. Personally, I believe the Excel way works, but that’s just about it. I am not particularly fond of it, but it works. Therefore, this specific post dives briefly into the proces of creating a model-driven app on top of the previously created virtual table.
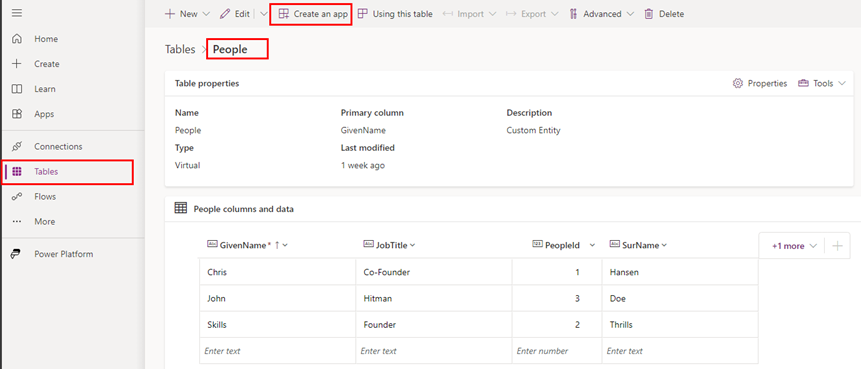
First step is to navigate to the tables section of Power Apps, and finding the table we’re interested in working with. In this case, we’ll grab the virtual table named People, which connects to a SQL server in Azure. Once in here, the option of “Create an app” presents itself.
The first thing that we’re asked to do, is to specify the name of the application. Our users will be seeing this name, so consider a proper naming rather than Test1 or App1.

Editing the view
Once we have pressed Create, Power Apps is gonna do it’s thing and spin up the standard model-driven app for us, on top of the views and forms that belong to the table. An important note here is that the forms and views do indeed belong to the table, rather than the application. You can however create multiple views and forms for the same table. We’ll start out by editing the view, which becomes an option when we hover over it.

On the left hand side, we are presented with the columns that we have not yet added to the view we’re currently editing. If we hover the column, three dots will appear which can be clicked, and then we can add the column to the view. Alternatively, we can simply the click the column name. Note that the columns will appear in the order that we click on them, but we can easily drag and drop them around.

Once we have set up the default view to our liking, it’s important that we remember to Save and publish it, and when that proces is no longer in progress, we can navigate back in the top left.

Editing the input form
Next up, it’s time to edit the form, and thereby the page that will be used to input and edit data in the model-driven app. The proces is very much the same as with editing the view. So as we mouseover the form we’re interested in working with, we’re able to edit it by pressing the pen logo that appears.

Once we’re editing the form, the parts of the UI that we will be using very much reminds of the editing view UI. Once more, we’re able to hover the column we’re interested in on the left, and as we do we get the option to right click on it, and add it to the selected section. Alternatively we can simply click on it.
Once inserted, we’re able to drag and drop the columns to adjust the order to our liking.

And once we’re done, it’s the same procedure as before, click the save and publish in the top right-hand corner, wait for the save proces to finish, and then we can navigate back.

Closing comment
And with that said and done, we now have a fully functional model-driven app, to create, read, update and delete inputs straight into a SQL database, and no user will be able to tell the difference as to whether it’s running on SQL or on Dataverse.
The natural next steps fro mhere includes sharing access to the application and the virtual tables, as well as Application Lifecycle Management of the whole solution.